搭建Magento电子商务网站(CentOS7)_建站教程
发布时间:2017-08-31 17:03
Magento是一款开源电商网站框架,其丰富的模块化架构体系及拓展功能可为大中型站点提供解决方案。它使用PHP开发,支持版本范围从PHP 5.6到PHP 7.1,并使用MySQL存储其数据。本文主要说明如何在阿里云ECS上搭建Magento电子商务网站。使用的操作系统为Linux CentOS 7. 2 64位。
适用对象
适用于熟悉ECS,熟悉Linux系统,刚开始使用阿里云进行建站的用户。
基本流程
使用云服务器 ECS 搭建Magento网站的操作步骤如下:
-
安装配置LAMP平台
-
创建数据库
-
安装配置Composer
-
安装配置Magento
-
添加cron作业
步骤一:安装配置LAMP平台
本文主要说明手动安装LAMP平台的操作步骤,您也可以在云市场购买LAMP镜像直接启动ECS,以便快速建站。1、更新包和存储库
安装 Apache web server 和 MySQL server。
-
# yum -y update
-
# yum -y install httpd
-
# rpm -Uvh http://dev.mysql.com/get/mysql57-community-release-el7-8.noarch.rpm
-
# yum -y install mysql-community-server
2、启动服务并设置开机自启。
-
# systemctl start httpd
-
# systemctl enable httpd
-
# systemctl start mysqld
-
# systemctl enable mysqld
3、编辑Apache配置文件
# vim /etc/httpd/conf/httpd.conf
找到以下内容,
Include conf.modules.d/*.conf
在上面一行之后添加以下内容,
LoadModule rewrite_module modules/mod_rewrite.so
继续找到以下内容,
-
OptionsIndexesFollowSymLinks
-
#
-
# AllowOverride controls what directives may be placed in .htaccess files.
-
# It can be "All", "None", or any combination of the keywords:
-
# Options FileInfo AuthConfig Limit
-
#
-
AllowOverrideNone
将此处的AllowOverride None修改为AllowOverride all。
4、获取密码
查看/var/log/mysqld.log文件,获取安装mysql时自动设置的root用户密码。
-
# grep 'temporary password' /var/log/mysqld.log
-
2016-12-13T14:57:47.535748Z1[Note] A temporary password is generated for root@localhost: p0/G28g>lsHD
5、mysql安全配置
运行下面的命令可以从如下4个方面提高mysql的安全性:
-
设置root账号密码
-
禁止root账号远程登录
-
删除匿名用户账号
-
删除test库和对test库的访问权限
详细说明可参见官方文档:
-
# mysql_secure_installation
-
Securing the MySQL server deployment.
-
Enter password for user root:输入第4步中获取到的密码
-
The'validate_password' plugin is installed on the server.
-
The subsequent steps will run with the existing configuration of the plugin.
-
Using existing password for root.
-
Estimated strength of the password:100
-
Change the password for root ?((Press y|Y forYes, any other key forNo): N
-
是否更改root用户密码,输入Y
-
New password:输入密码
-
Re-enter new password:再次输入密码
-
Estimated strength of the password:100
-
Do you wish to continue with the password provided?(Press y|Y forYes, any other key forNo): Y
-
By default, a MySQL installation has an anonymous user, allowing anyone to log into MySQL without having to have a user account created for them.This is intended only for testing, and to make the installation go a bit smoother.You should remove them before moving into a production environment.
-
Remove anonymous users?(Press y|Y forYes, any other key forNo): Y
-
是否删除匿名用户,输入Y
-
Success.
-
Normally, root should only be allowed to connect from 'localhost'.
-
This ensures that someone cannot guess at the root password from the network.
-
Disallow root login remotely?(Press y|Y forYes, any other key forNo): Y
-
禁止roo远程登录,输入Y
-
Success.
-
By default,MySQL comes with a database named 'test' that anyone can access.
-
This is also intended only for testing, and should be removed before moving into a production
-
environment.
-
Remove test database and access to it?(Press y|Y forYes, any other key forNo): Y
-
是否删除test库和对它的访问权限,输入Y
-
-Dropping test database...
-
Success.
-
-Removing privileges on test database...
-
Success.
-
Reloading the privilege tables will ensure that all changes
-
made so far will take effect immediately.
-
Reload privilege tables now?(Press y|Y forYes, any other key forNo): Y
-
是否重新加载授权表,输入Y
-
Success.
-
Alldone!
6、安装PHP 7和一些所需的额外PHP扩展。
-
# yum install -y
-
http://dl.iuscommunity.org/pub/ius/stable/CentOS/7/x86_64/ius-release-1.0-14.ius.centos7.noarch.rpm
-
# yum -y update
-
# yum -y install php70u php70u-pdo php70u-mysqlnd php70u-opcache php70u-xml php70u-gd
-
php70u-mcrypt php70u-devel php70u-intl php70u-mbstring php70u-bcmath php70u-json php70u-iconv
7、验证的版本PHP安装。
-
# php -v
-
PHP 7.0.13(cli)(built:Nov10201608:44:18)( NTS )
-
Copyright(c)1997-2016The PHP Group
-
ZendEngine v3.0.0,Copyright(c)1998-2016ZendTechnologies
-
with ZendOPcache v7.0.13,Copyright(c)1999-2016, by ZendTechnologies
8、编辑配置文件
根据实际情况增加内存限制。
memory_limit = 128M
设置时区为上海。
date.timezone = Asia/Shanghai
9、重启web服务进程。
# systemctl restart httpd
步骤二:创建数据库
1、创建数据库及用户
为Magento Data创建一个数据库和一个数据库用户,数据库和用户名可根据实际情况修改。
-
# mysql -u root -p
-
Enter password:
-
mysql> CREATE DATABASE magento;
-
Query OK,1 row affected (0.00 sec)
-
mysql> GRANT ALL ON magento.* TO YourUser@localhost IDENTIFIED BY 'YourPass';
-
Query OK,0 rows affected,1 warning (0.00 sec)
-
mysql> FLUSH PRIVILEGES;
-
Query OK,0 rows affected (0.00 sec)
2、测试可用性
验证新建的Magento数据库和用户是否可用【可选】。
-
# mysql -u magentouser -p
-
mysql> show databases;
-
+--------------------+
-
|Database|
-
+--------------------+
-
| information_schema |
-
| magento |
-
+--------------------+
-
2 rows inset(0.00 sec)
-
mysql> exit
步骤三:安装配置Composer
注:Composer是PHP编程语言软件包管理器提供的一个标准格式的管理所需PHP软件和库的依赖关系。
1、安装Composer。
-
# curl -sS https://getcomposer.org/installer | php
-
All settings correct for using Composer
-
Downloading1.2.4...
-
Composer successfully installed to:/root/composer.phar
-
Use it: php composer.phar
2、配置 composer全局使用。
# mv /root/composer.phar /usr/bin/composer
3、测试命令是否可用。
-
# composer -v
-
______
-
/ ____/___ ____ ___ ____ ____ ________ _____
-
/// __ \/ __ `__ \/ __ \/ __ \/ ___/ _ \/ ___/
-
/ /___/ /_/ / / / / / / /_/ / /_/ (__ ) __/ /
-
\____/\____/_/ /_/ /_/ .___/\____/____/\___/_/
-
/_/
-
Composer version 1.2.4 2016-12-06 22:00:51
步骤四:安装配置Magento
注:可以使用许多不同的方法安装magento,也可以选择是否安装示例数据。测试目的安装Magento,您可以选择安装示例数据;生产环境中安装Magento,建议选择安装全新的Magento,从头开始配置。安装Magento的最好方法是使用Git下载Magento clone,然后使用composer安装。
1、下载安装Magento
通过安装git clone下载安装Magento 。
-
# yum -y install git
-
# cd /var/www/html/
-
# git clone https://github.com/magento/magento2.git
2、切换到稳定版本
默认情况git下载安装Magento是一个最新的开发版本,生产环境中如果没有使用稳定版,那么未来将无法升级安装。
-
# cd magento2 && git checkout tags/2.1.0 -b 2.1.0
-
Switched to a new branch '2.1.0'
3、移动安装文件到web服务器根目录下
-
# shopt -s dotglob nullglob && mv /var/www/html/magento2/* /var/www/html/ && cd ..
4、设置magento文件适当的权限。
-
# chown -R :apache /var/www/html
-
# find /var/www/html -type f -print0 | xargs -r0 chmod 640
-
# find /var/www/html -type d -print0 | xargs -r0 chmod 750
-
# chmod -R g+w /var/www/html/{pub,var}
-
# chmod -R g+w /var/www/html/{app/etc,vendor}
-
# chmod 750 /var/www/html/bin/magento
5、安装Magento。
# composer install
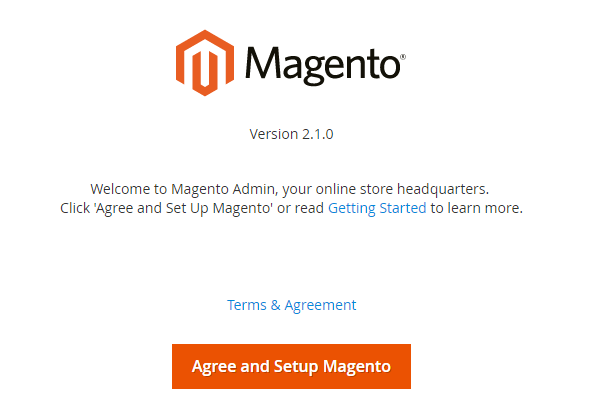
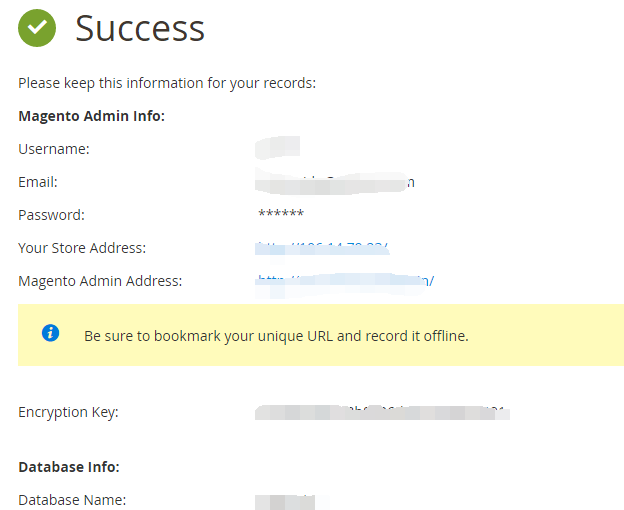
6、完成配置
按实际情况填写连接数据库信息,web访问设置,定制商店,创建管理员账号。
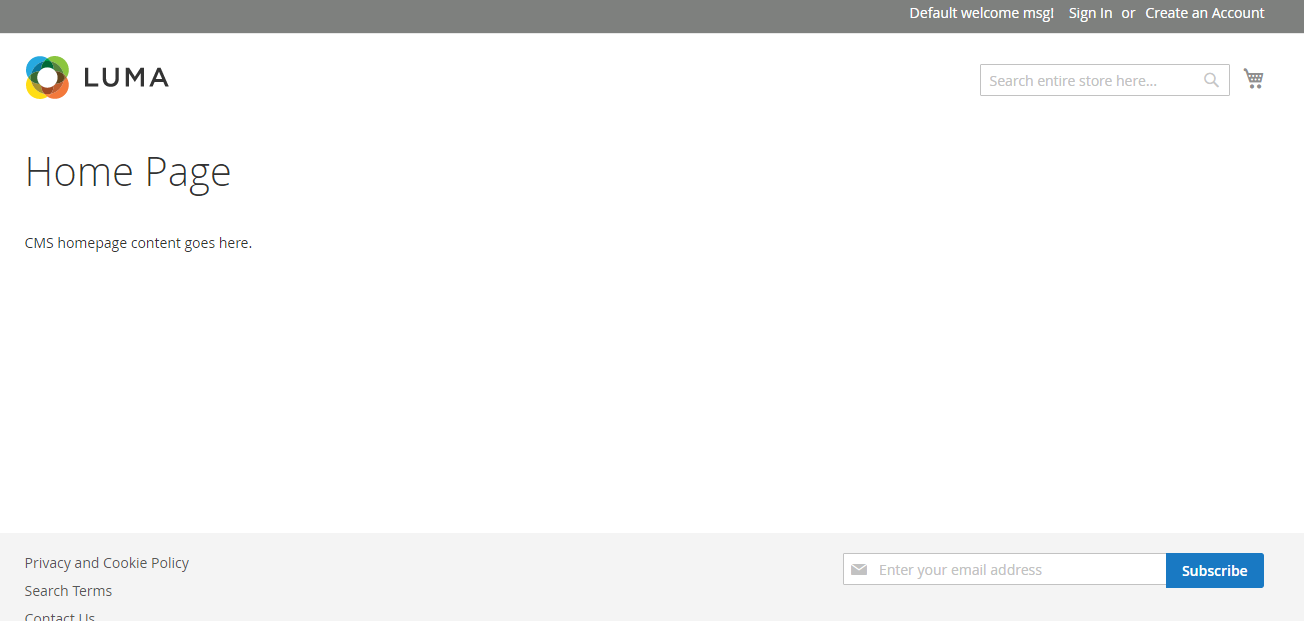
可看到默认主页。
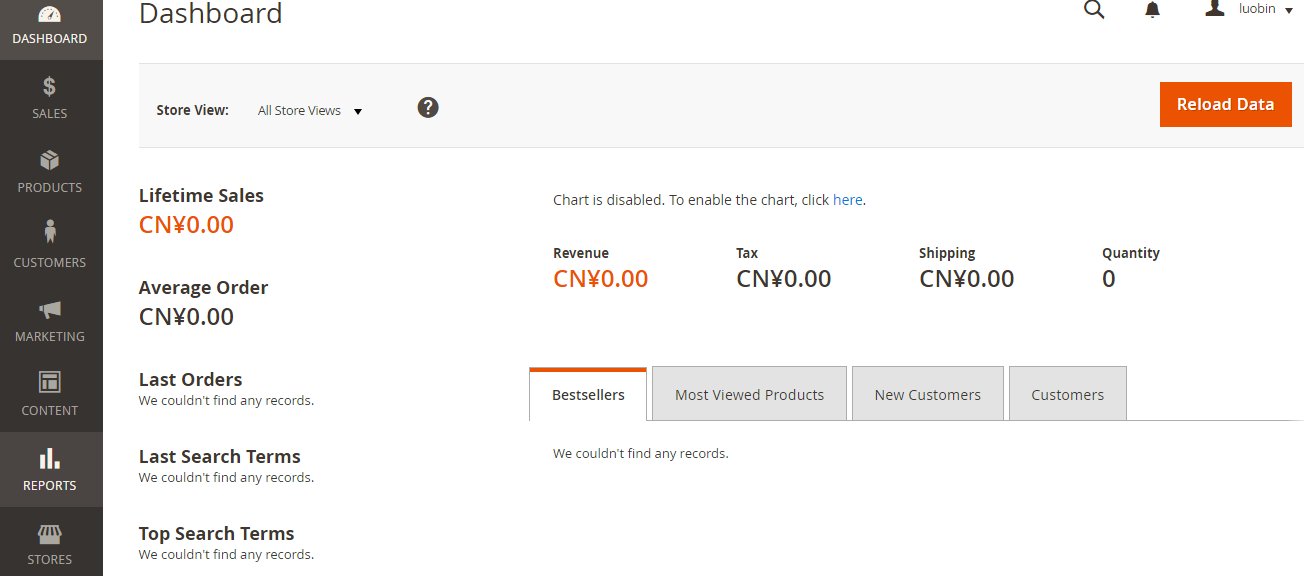
使用您在安装过程中设置的用户名和密码,成功登录管理面板后可看到如下界面。
步骤五:添加cron作业
1、设置cron运行调度工作。
# crontab -u apache -e
2、添加以下内容。
-
*/10**** php -c /etc /var/www/html/bin/magento cron:run
-
*/10**** php -c /etc /var/www/html/update/cron.php
-
*/10**** php -c /etc /var/www/html/bin/magento setup:cron:run


